API - Inbound
POSTAPI - Outbound
GETTableau
Integration guide
The data is connected through Web Data Connector.
1. Data can be funnelled to Tableau from all types of datasets. The integration is accessible through the dataset element from the home screen.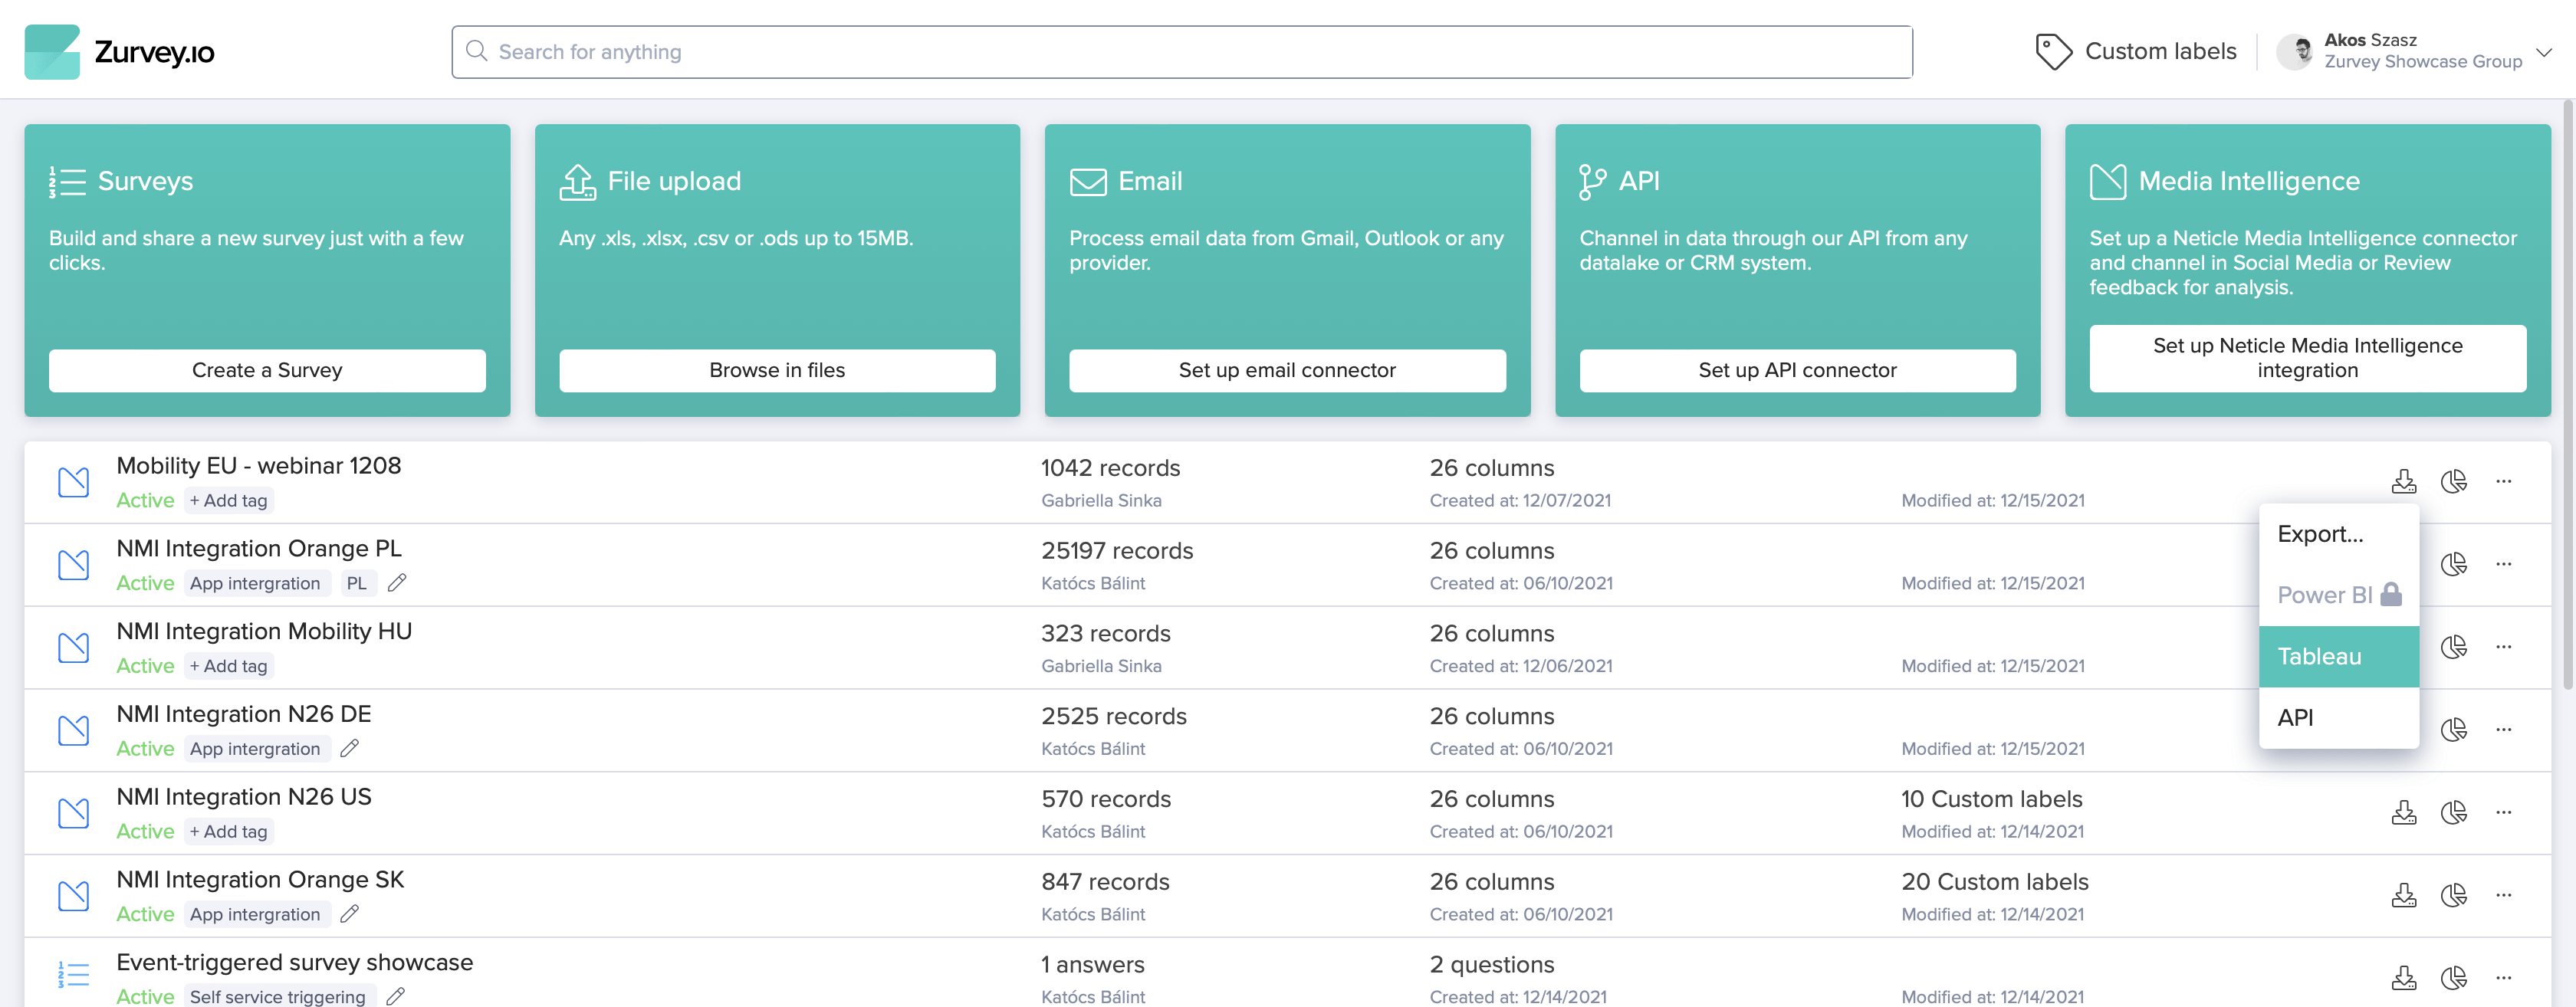
2. Clicking on Tableau option, the system visualizes the Tableau Export popup, which contains all credentials, which are needed to funnel the data to Tableau.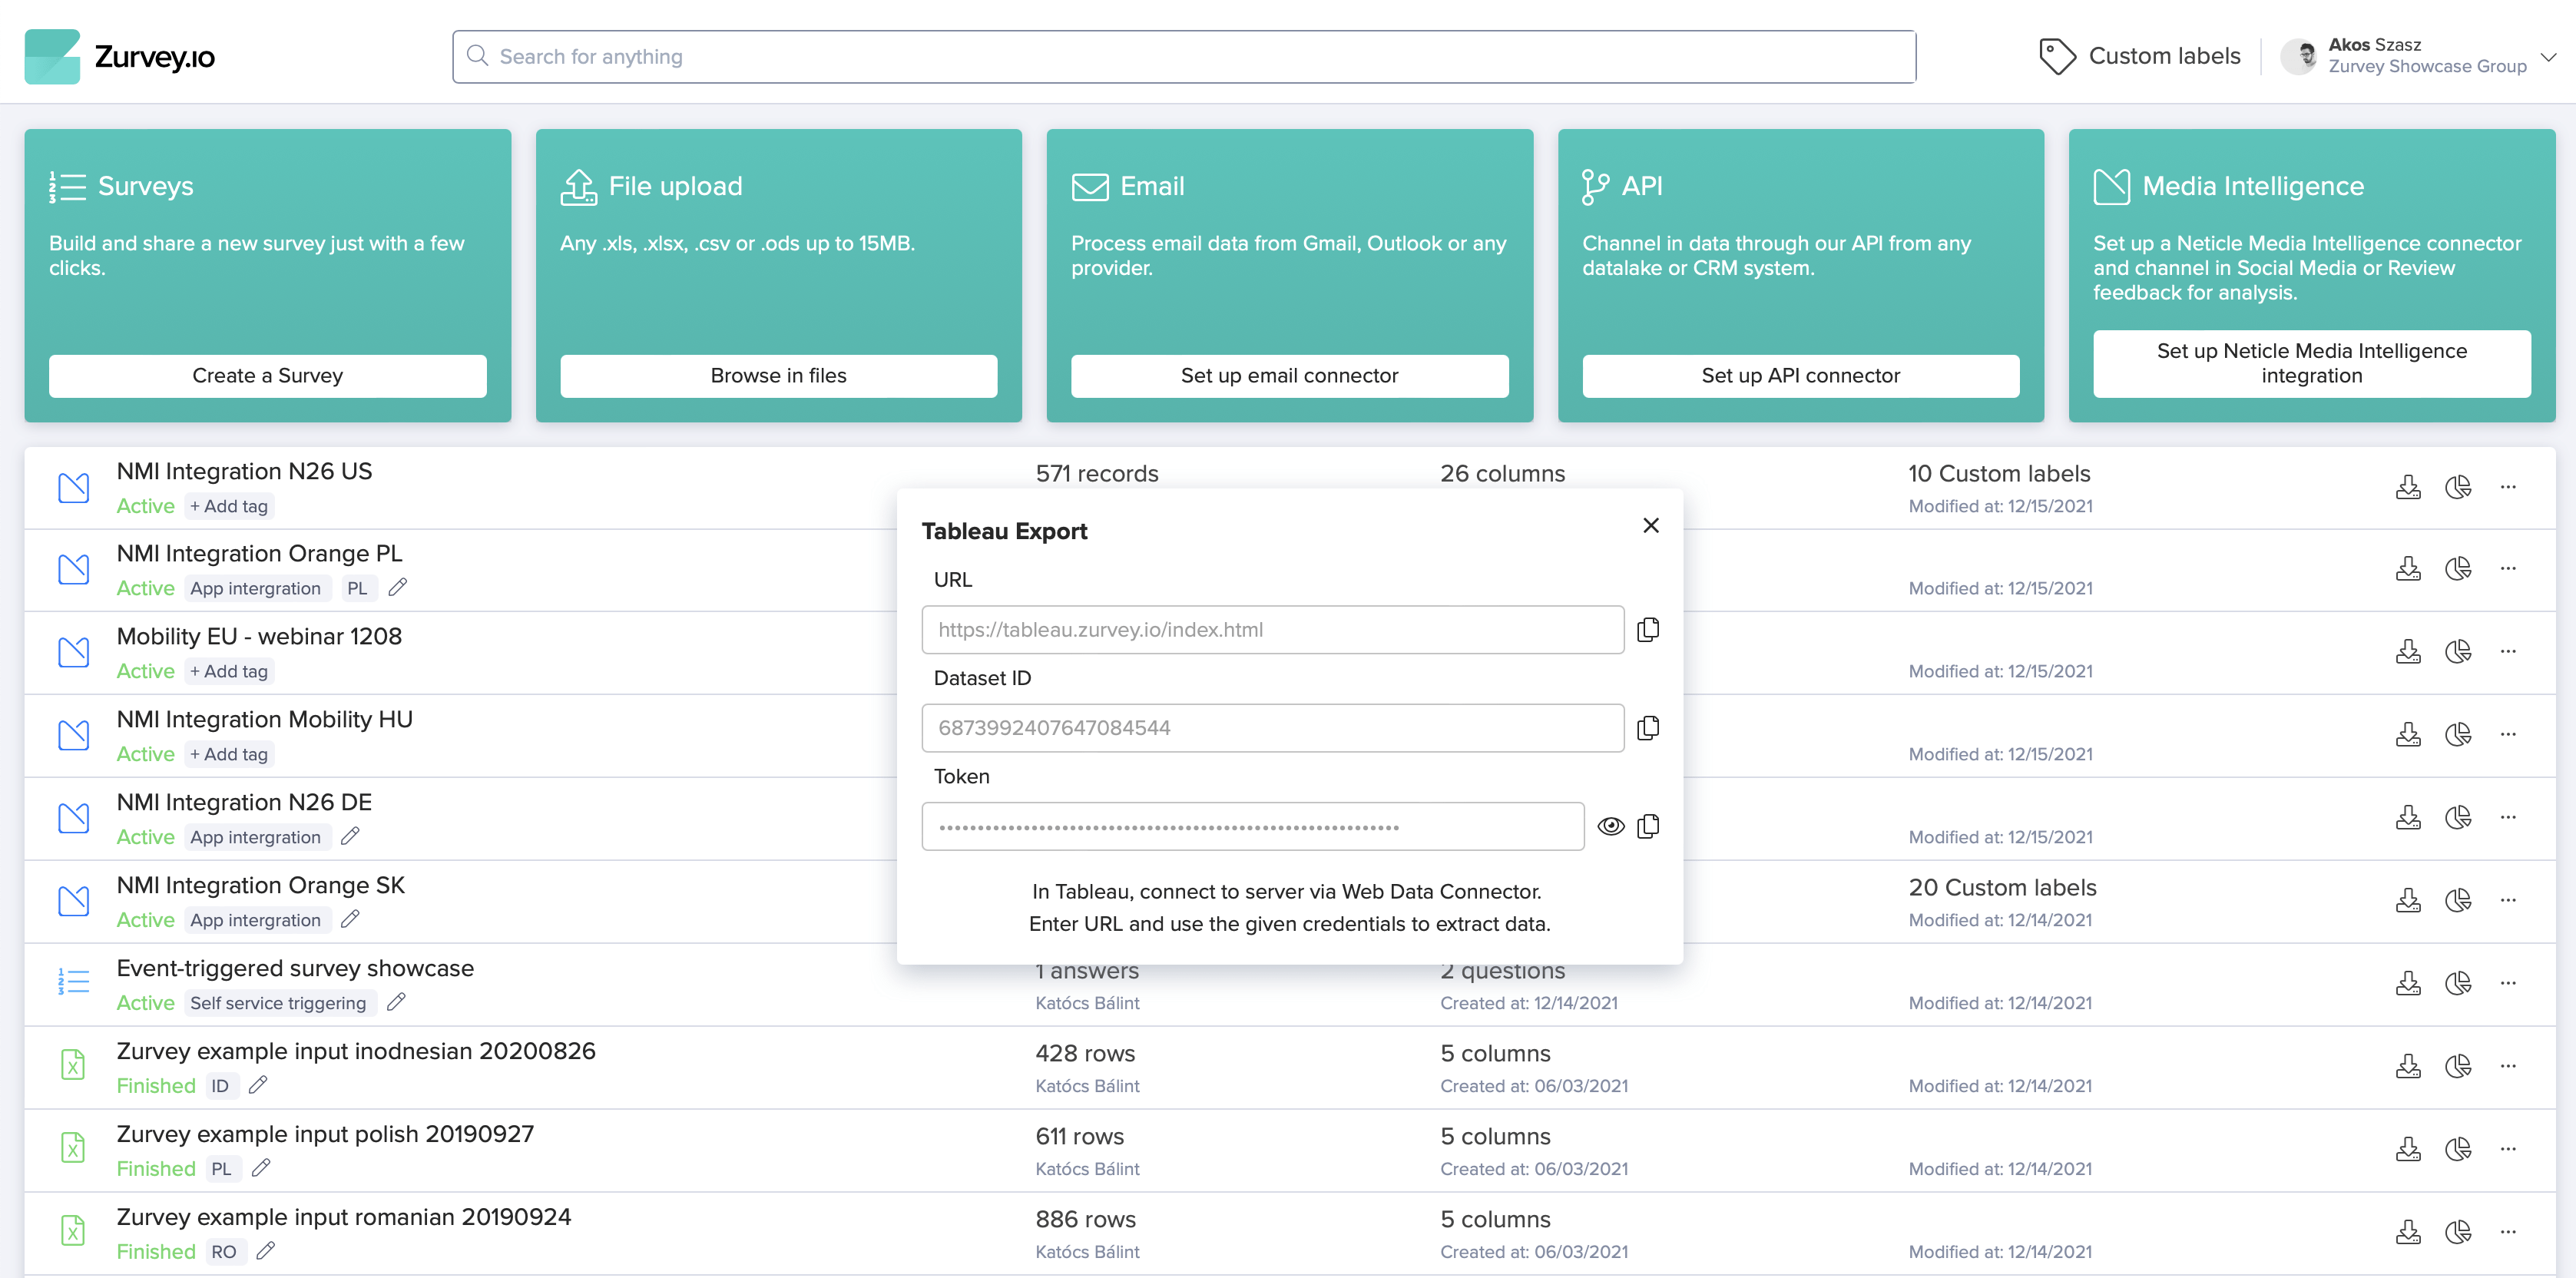
3. As a next step user should open, Tableau desktop and click on Connect menu → Connect to a Server → More.
Here with the Dataset ID and Token, the data can be connected to Tableau through the web server.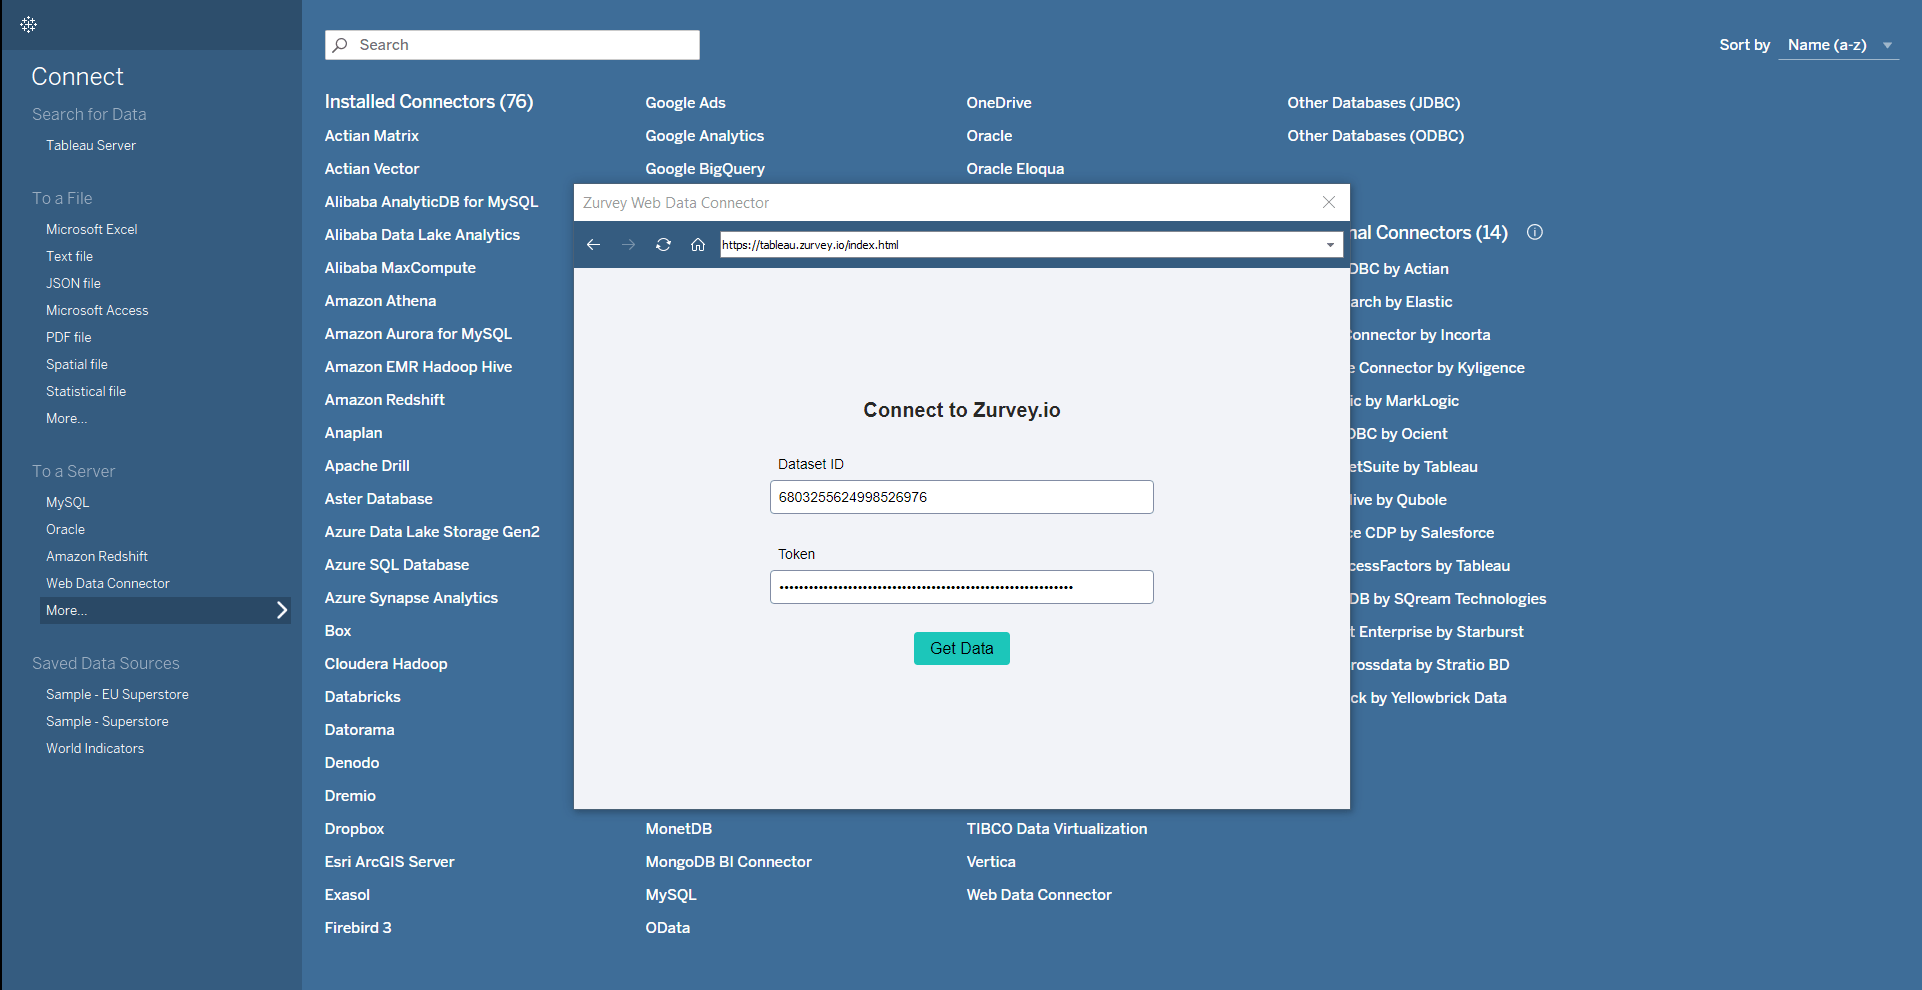
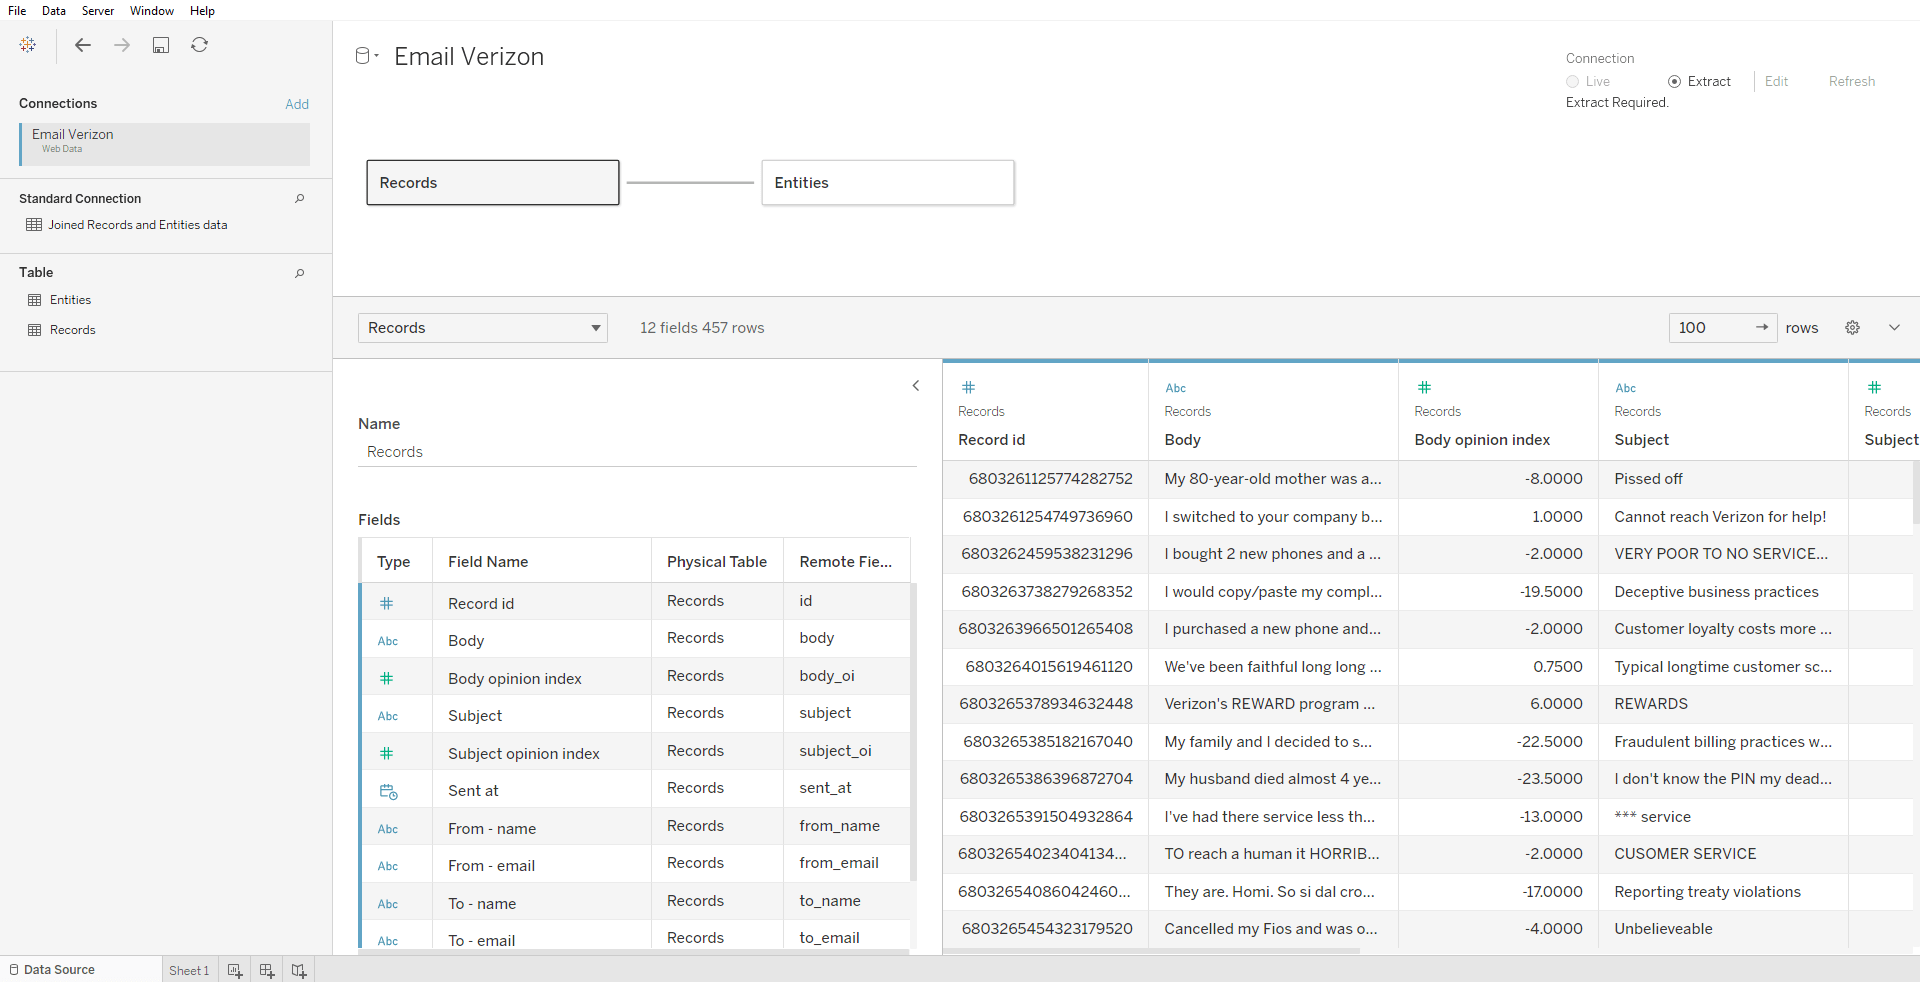
4. After the connection has been created, Tableau loads the data for a few seconds, until the Entities and Records table become visible on the left.
There is an automatically created table, called Joined Records and Entities. It is joined based on standard connection by Tableau, but this method often results imperfect data. Text units are multiplied based on how many Entities they have.
Instead of using this table we suggest to drag Entities and Records tables to the middle and join them based on the Record ID.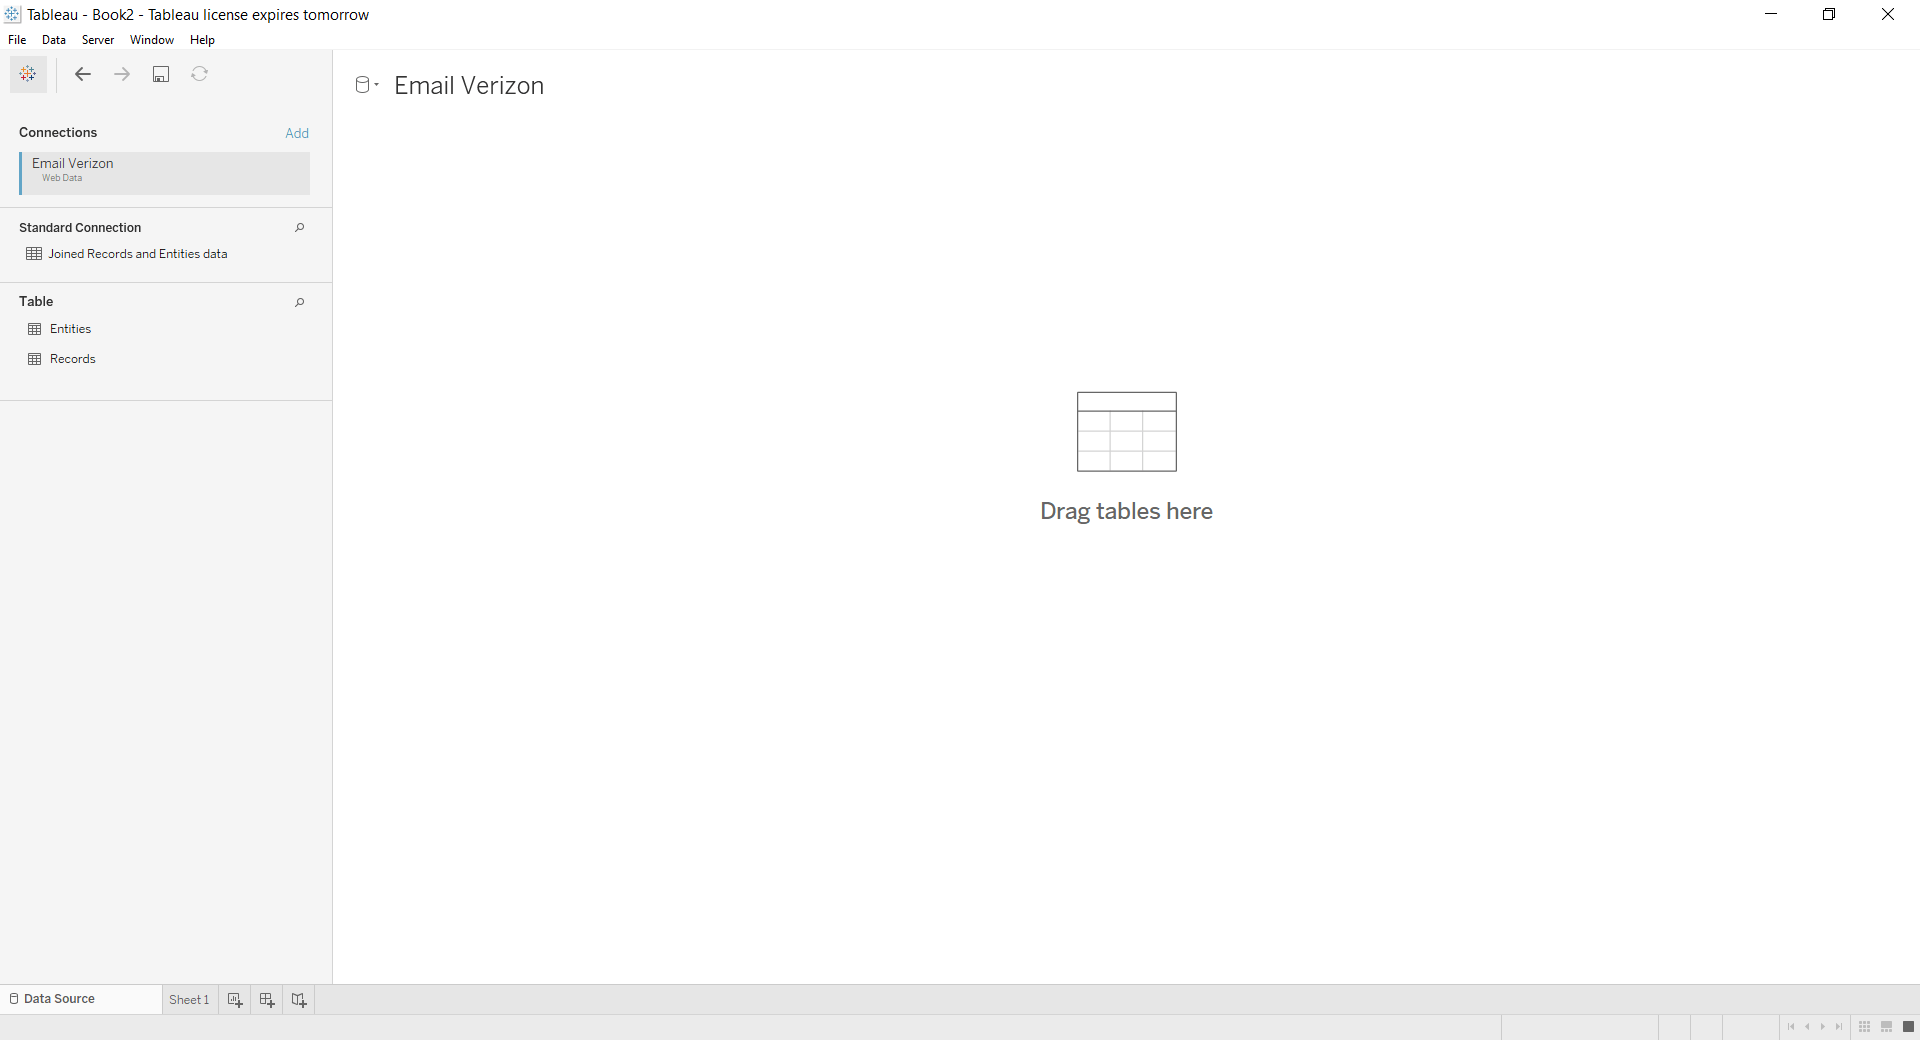
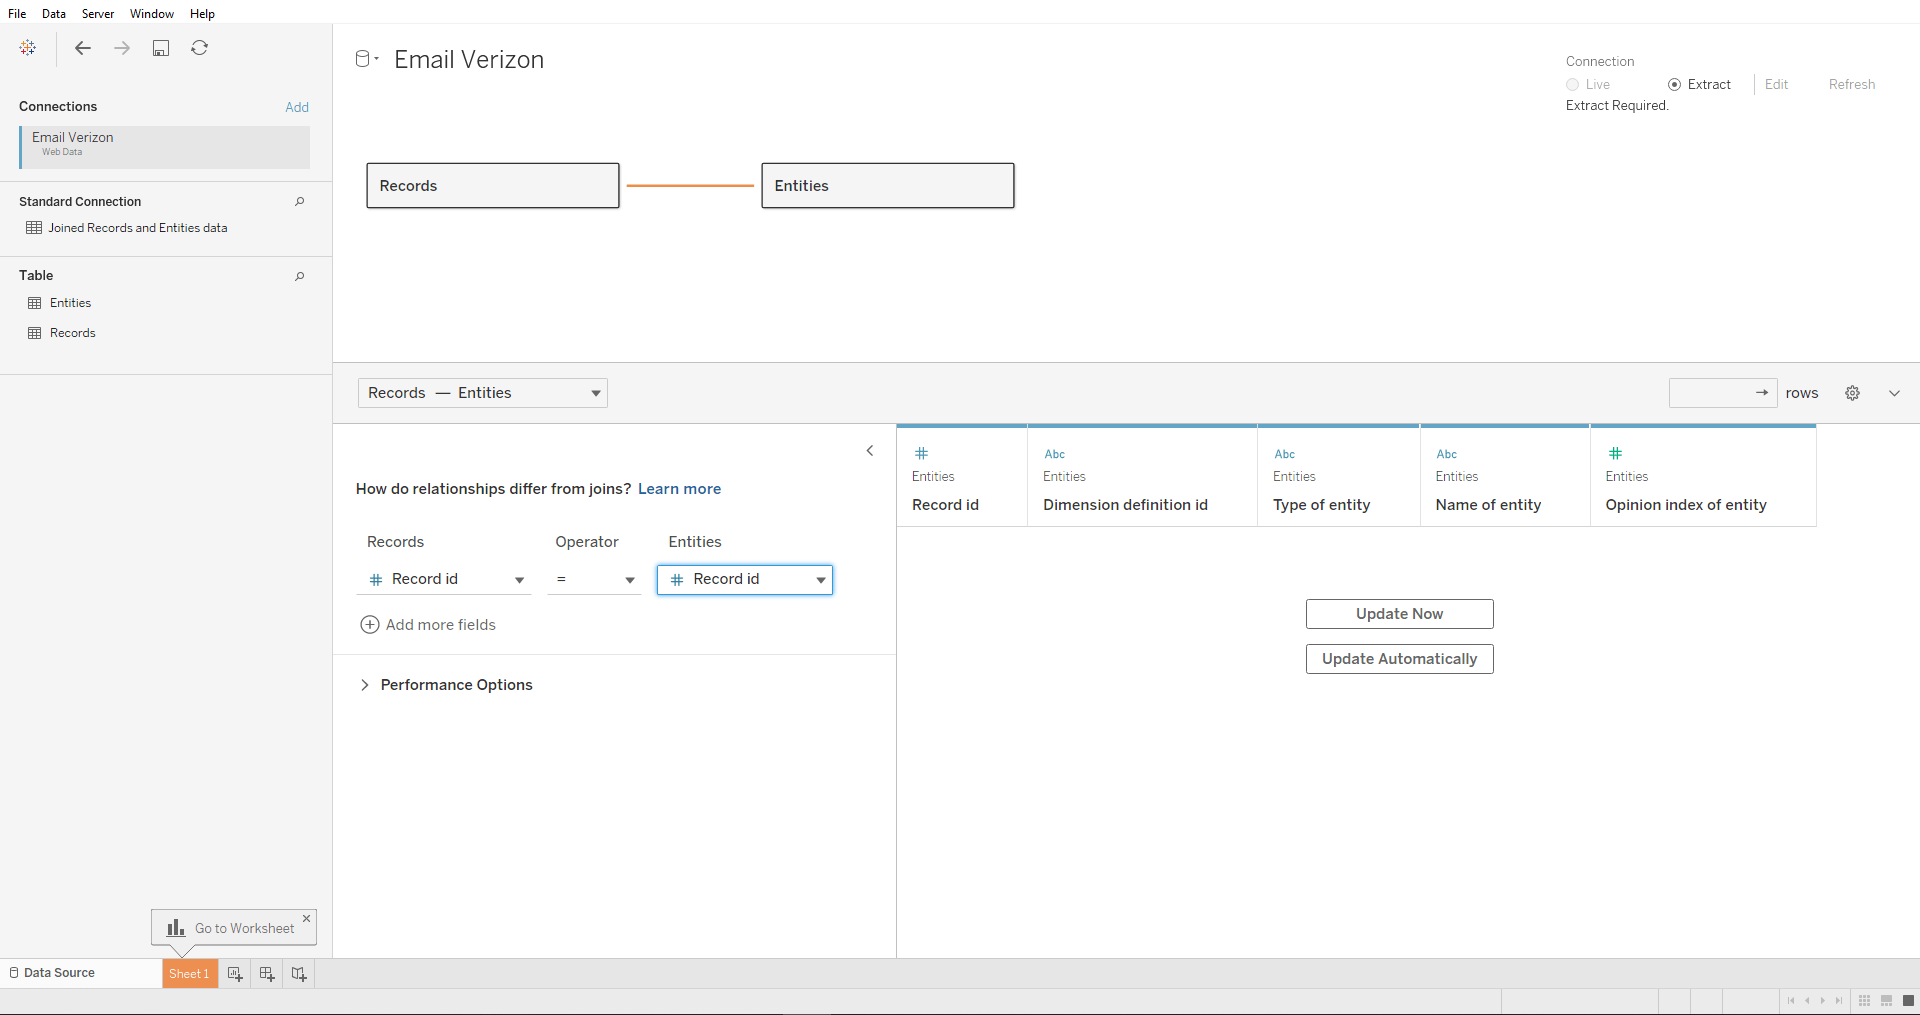
5. After the Tables are joined, you can start to build your dashboard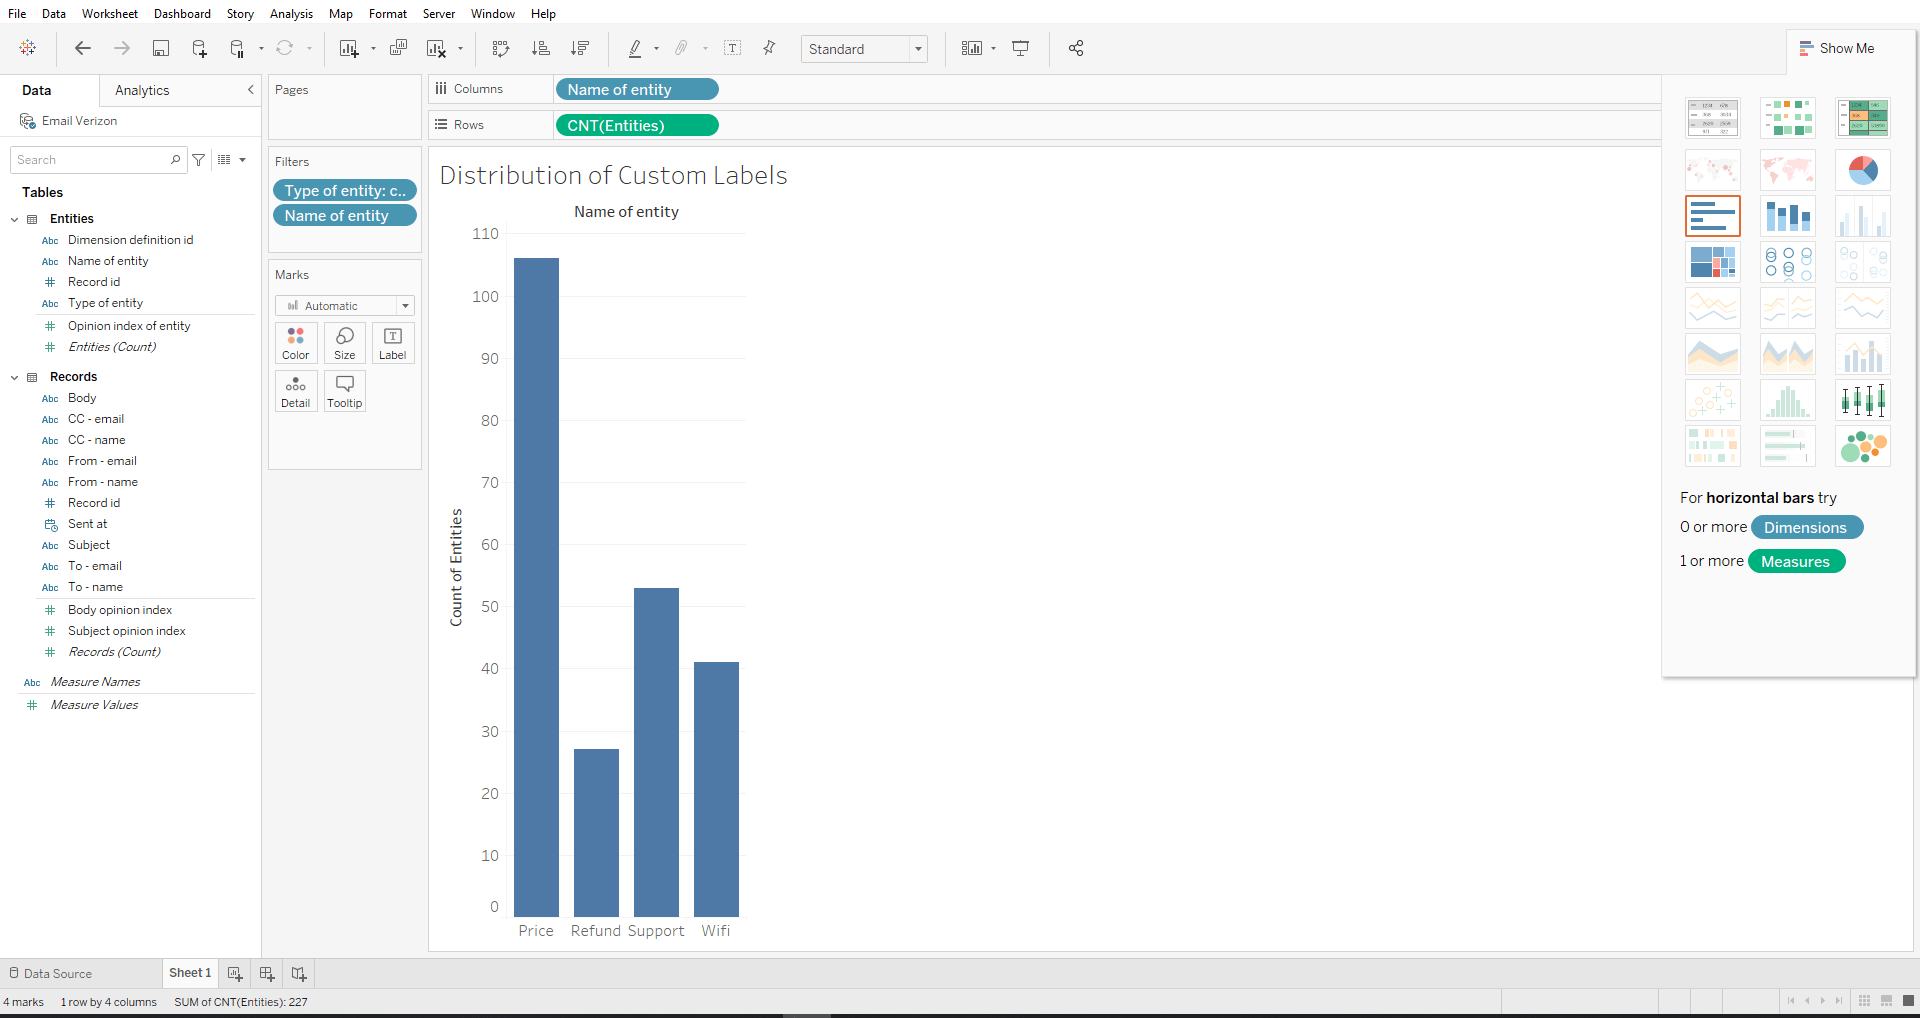
Power BI
1. Connect the dataset
When the feature is activated, a Power BI option will become visible by every datasets and surveys in the client’s group.
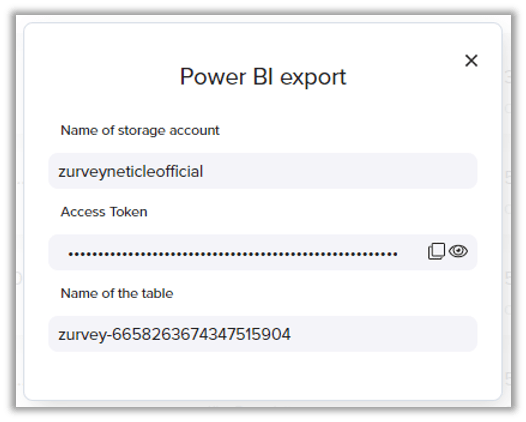
After clicking on the Power BI export, we provide all the necessary informations for the integration in a pop up.
• Storage account
• Access Token
• Name of the table 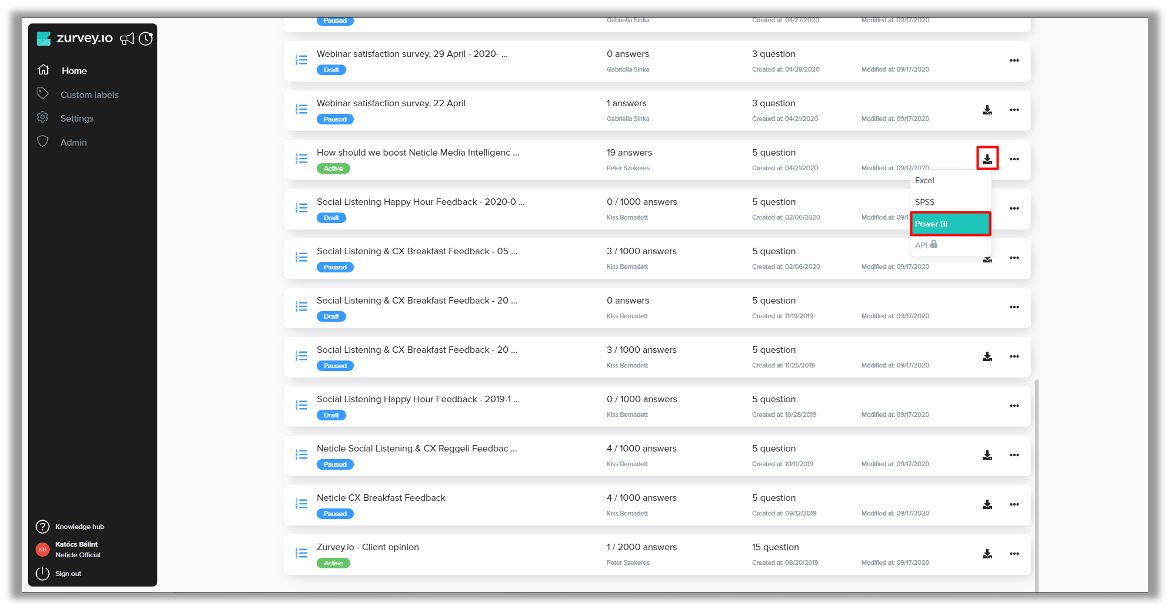
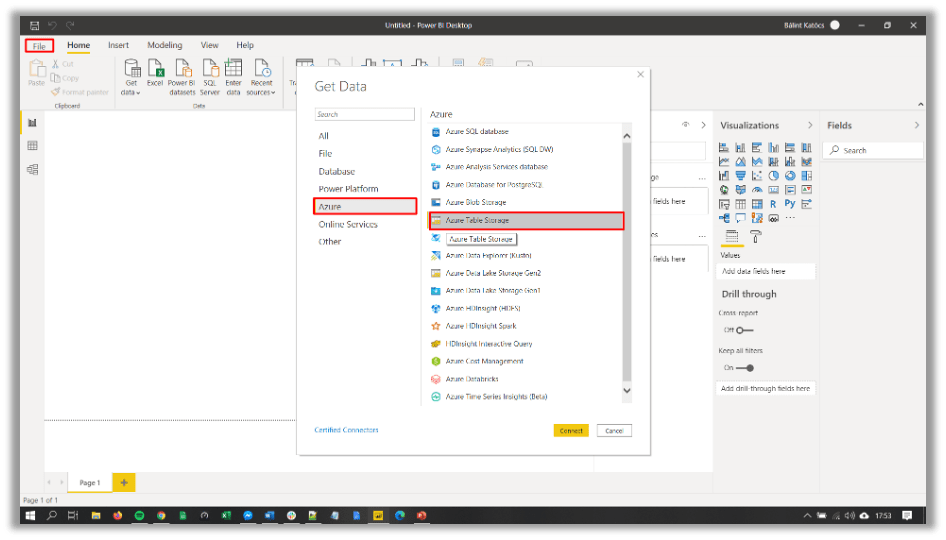
2. Get data from table storage
2.1 - File → Get data → Get data to get started → Azure → Azure Table Storage
 2.2 - Give the name of Storage account
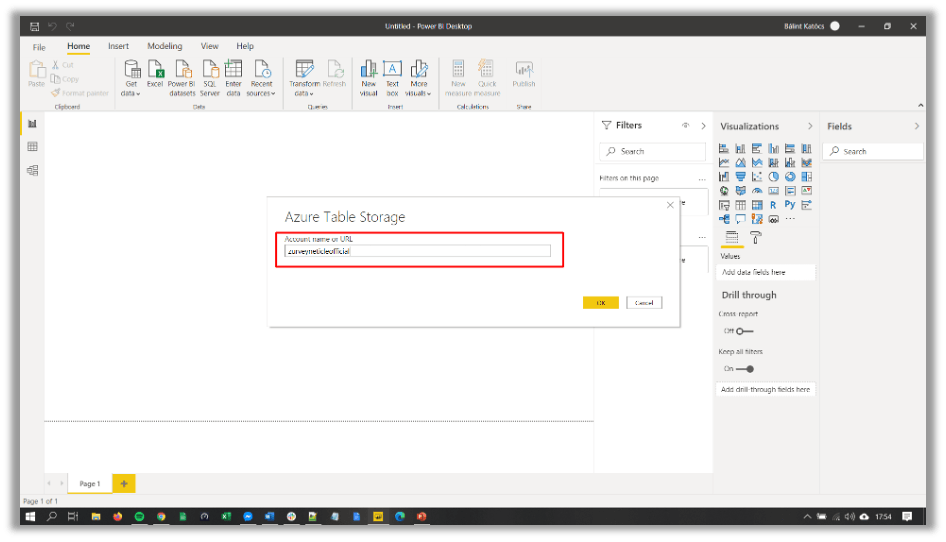 2.3 - Give access token
 2.4 - Select file → Transform data
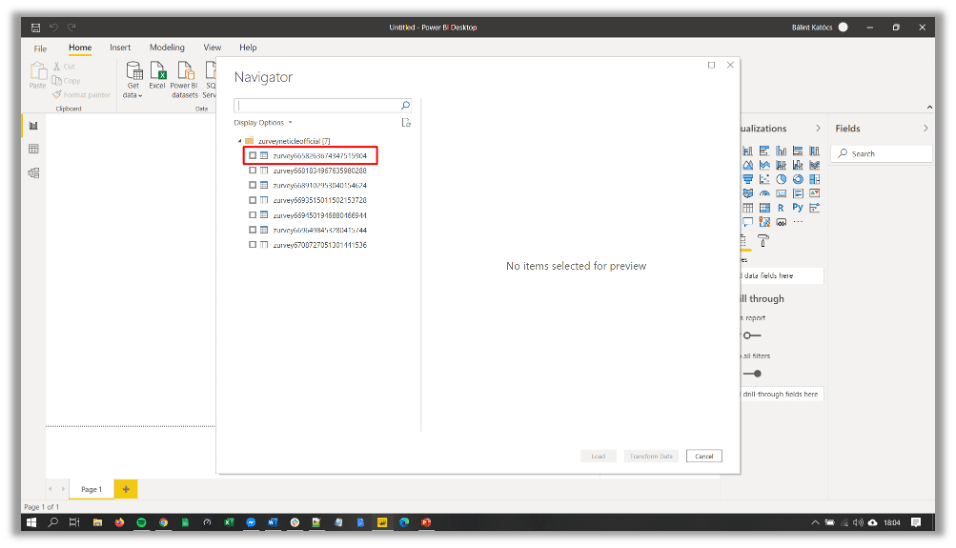
3. Transform data in Power Query
3.1 - Removing open ended questions
Every open ended question composed of three different columns
q_1                  answer of the specific question

q_1_entities         recognized entitites

q_1_opinion_index    sentiment score
Open ended questions can be added to the dashboard separately, because of the data enrichment (entities, sentiment score), otherwise the data structure can be damaged.
Later we should add these questions to the dashboard as a separate data source.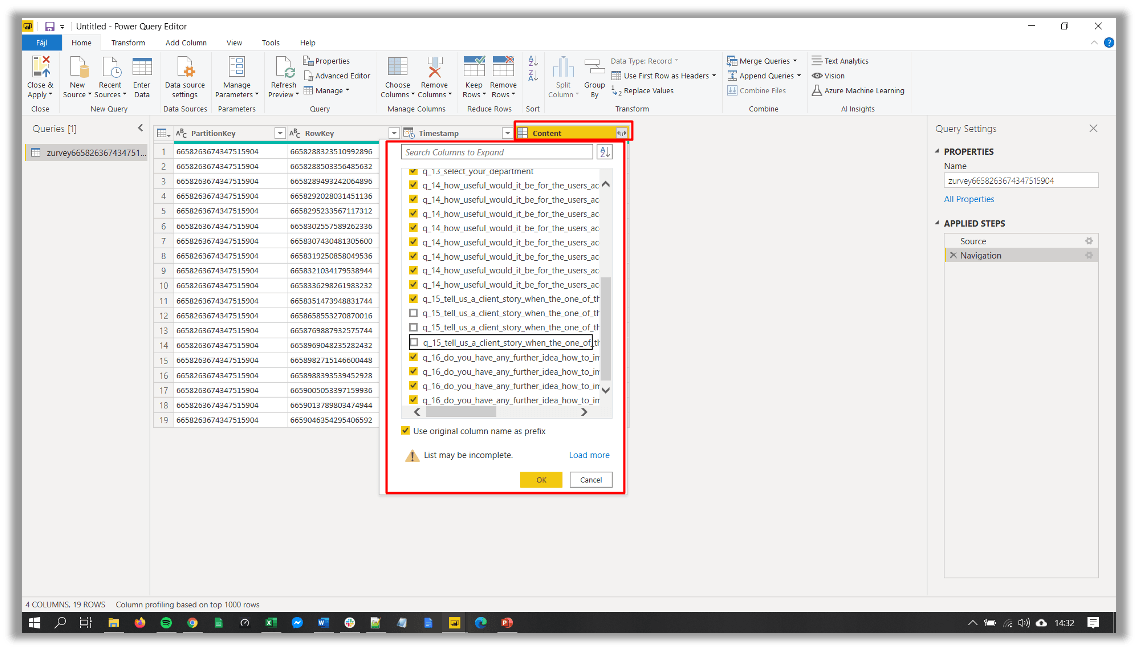
3.2 - Add open ended question to the dashboard
Only the open ended questions should be expanded.
All columns wich has JSON format should be transformed to text. You should click on Transform → Parse → JSON. 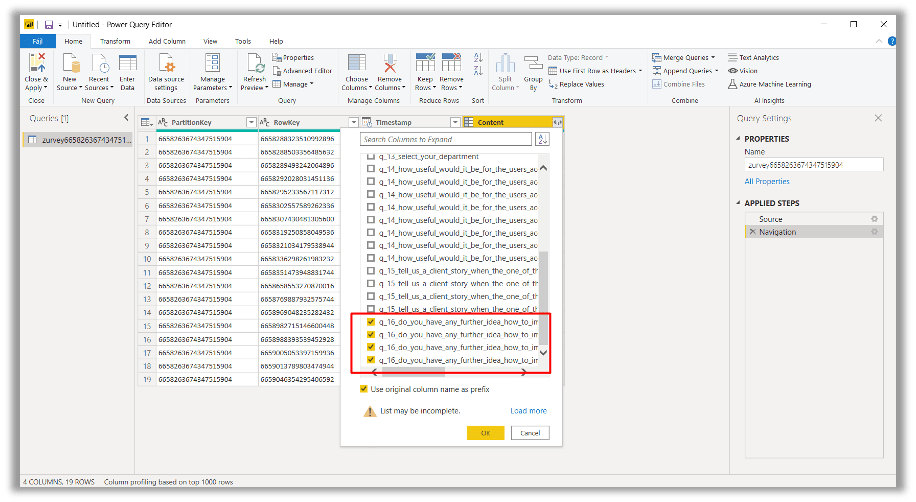

3.3 - Load data into the dashboard
After you expand these columns as well you can load data into the dashboard with Close and apply button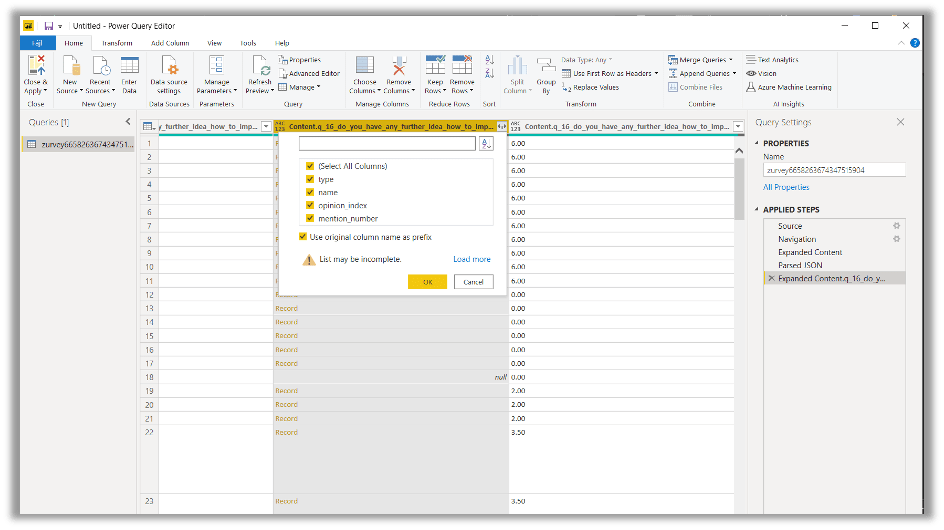
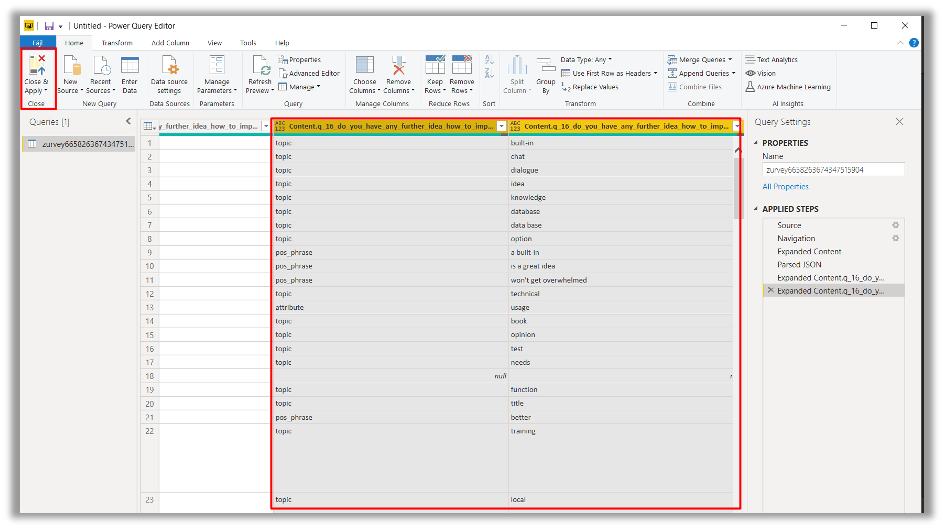
3.4 - Visualize data
With the help of custom visualizations you can create word clouds, graphs based on the most mentioned entitites.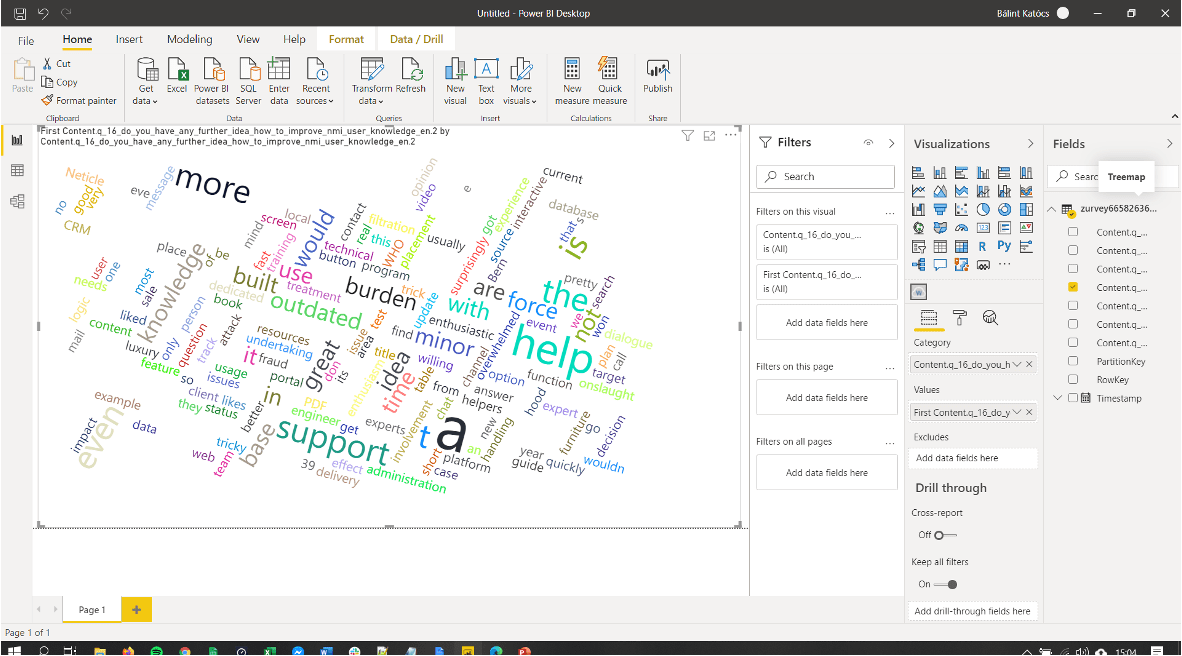
Jira
Implementation Guide
Atlassian’s issue and project tracking software Jira gives the opportunity to automate its processes. This is where the smart client satisfaction management tool Zurvey.io comes in. One way to embrace the advantages of these two softwares is to automate the follow-up procedure of closing tickets. In this guide we are describing the necessary steps to implement Zurvey.io into Jira.
Ticket example: automated email sending after closing bug ticket
Path: Settings → System → Automation → Automation rules
Steps to implement Zurvey.io automation in Jira
- 1. Create automation rule

- 2. Add event

- 3. Set up email parameter
You can add parameters to the email body or subject - for example the creator or owner of the ticket.


- 4. Embedded survey
Survey questions (scale and rating types) created with Zurvey.io can be embedded into the email body using a HTML code snippet. The questionnaire and the embedded part is customizable. The code can be found in the Zurvey.io profile or can be provided by the Zurvey.io team on request.


- 5. Add survey parameters
To be able to match responses to ticket numbers and owners, Zurvey.io adds unique URL parameters to the surveys. These parameters can be inserted into the HTML code, enabling filtering for them in exports or on the dashboards.

Now your Jira and Zurvey.io implementation is complete.
Download the PDF version of the documentation.
Did you find this article helpful?

Address:
41 Leonardo da Vinci street ground floor
Budapest Hungary H-1082
Registered seat:
H-1016 Budapest, Naphegy utca 28. fszt. 2

Neticle
Company Details
Neticle Plc.
Billing address: H-1016 Budapest, Naphegy utca 28. fszt. 2
VAT number: 28996752-2-41
EU VAT number: HU28996752
Bank details:
Owner of the bank account: Neticle Plc.
Account-keeping bank: MKB Bank Zrt
EUR IBAN: HU34-10101353-22104900-01005303
HUF IBAN: HU20 10101353-22104900-01004003
SWIFT code: BUDAHUHB